















CO₂Carbon dioxide
Keep it sparkling
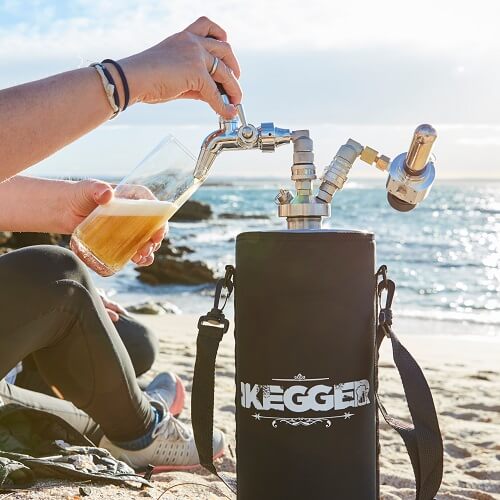
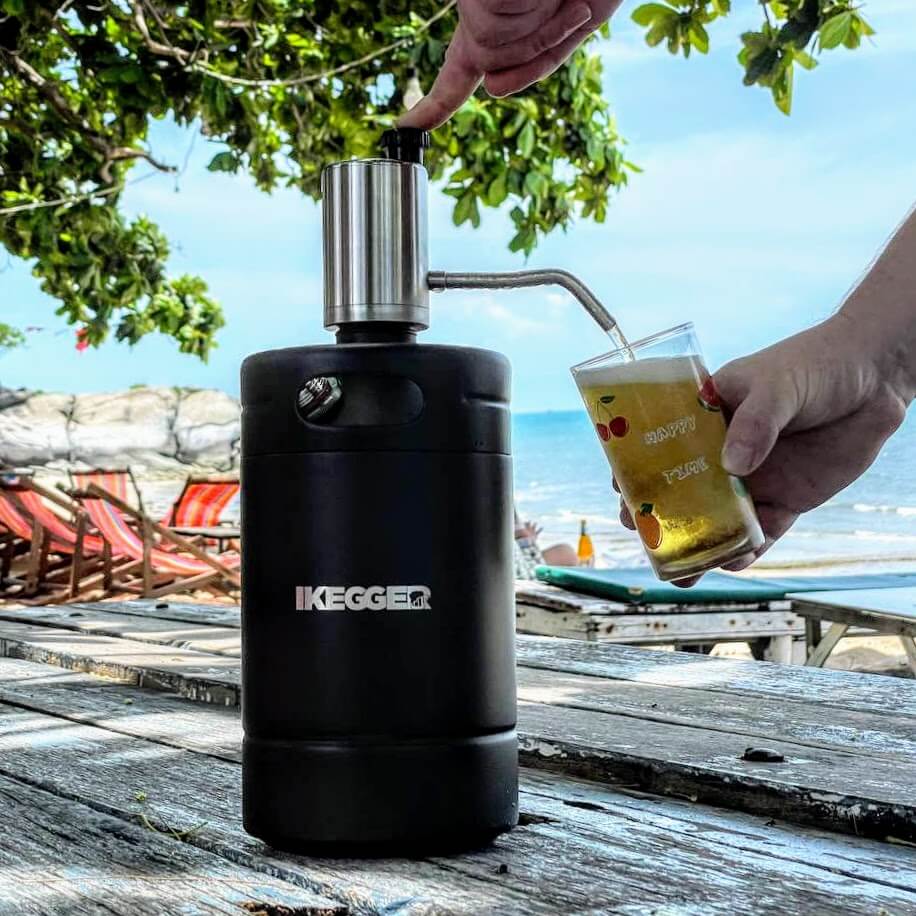
For beer, Aperol Spritz, Hugo, Gin & Tonic and other carbonated drinks.
- Preparation
- Do not shake
- Serve
- 7–10 PSI

iKegger 2.0 · Gas & pressure guide
Not every drink needs the same gas. This guide helps you choose the right option for your iKegger Mini Keg and achieve the finish you want.
Use CO₂ for already carbonated drinks such as Aperol Spritz, Hugo, Gin & Tonic and beer. Choose N₂O for a quick, creamy finish in Pornstar Martini, or pure N₂ for the finest texture and most stable nitro cascade in Espresso Martini and nitro coffee.
Choose a gas to jump directly to the relevant guide:

Start here
First choose the result you want. The gas determines whether your drink stays sparkling, develops a quick creamy head or gets a fine nitro cascade.
For beer, Aperol Spritz, Hugo, Gin & Tonic and other carbonated drinks.
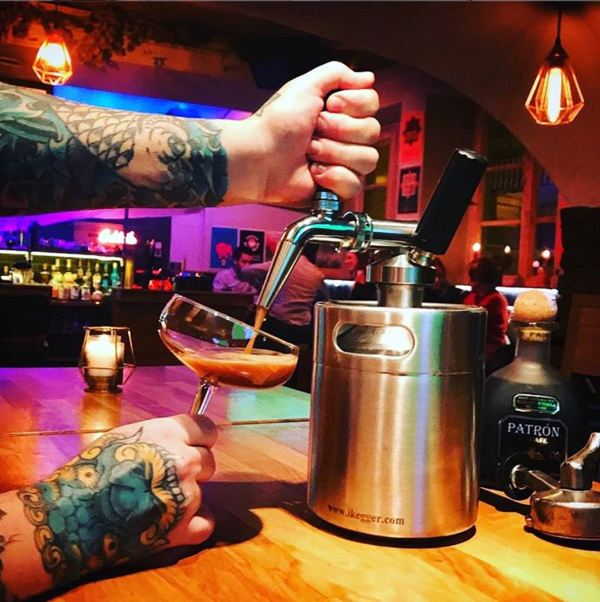
For Espresso Martini, Pornstar Martini, nitro coffee and shaken-style drinks.
For the finest texture, a stable head and the most pronounced cascade.
CO₂ · Carbonated drinks
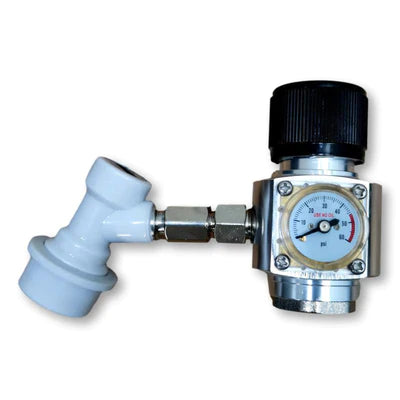
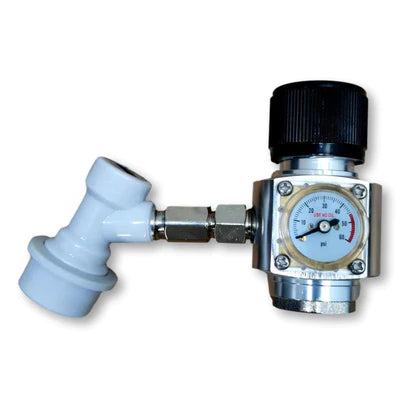
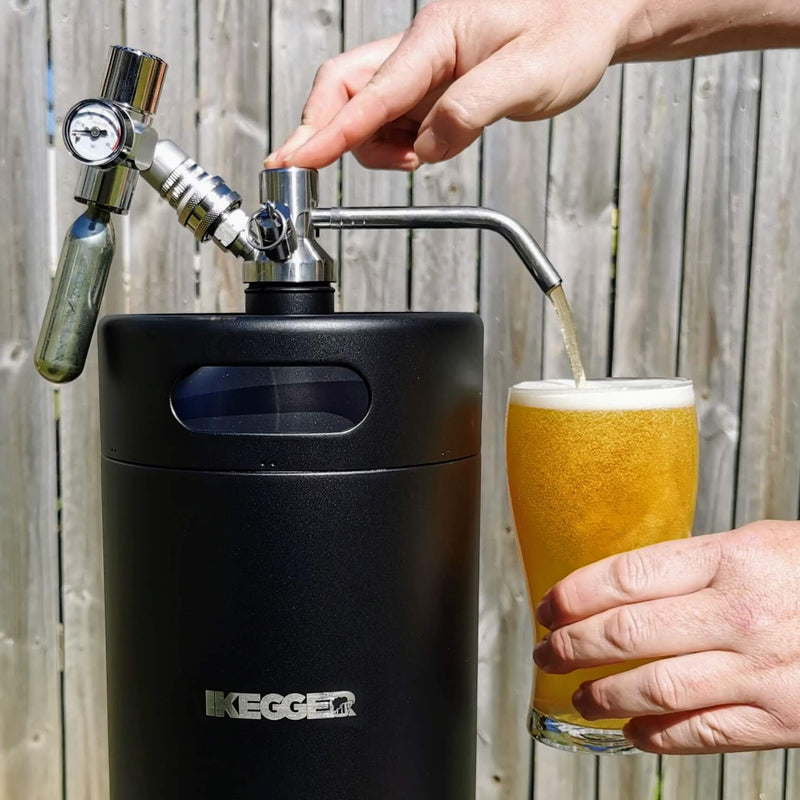
The liquid path to the iKegger 2.0 tap is short. Carbonated drinks therefore need only 7–10 PSI to pour cleanly. Too much pressure makes the drink flow too quickly and creates excessive foam.
It maintains their carbonation and supplies the pressure needed for a clean pour.
Pre-chill the drink and keg. Pour carbonated ingredients gently into the keg.
Turn the regulator fully anticlockwise before fitting the CO₂ cartridge or connecting it to the keg.
Increase the pressure only if the drink pours too slowly. Do not exceed 10 PSI for normal serving.
Never shake a carbonated drink. After carrying or transporting the keg, allow it to settle before pouring.
Turn the regulator fully off, pull the pressure relief valve briefly and carefully, then let the keg rest. Start again at 7 PSI.
N₂O or N₂?
Both gases create texture without carbonating the drink. N₂O is the faster option. Pure N₂ needs more preparation but produces the finest and most stable result.
Shared preparation
The first three steps are the same for N₂O and pure N₂.
Pre-chill everythingChill both the drink and the keg before filling.
Leave 0.5–1L headspaceThe free space allows the gas to enter the keg and contact the drink.
Start with the regulator offTurn it fully anticlockwise before inserting a gas bulb.

Fast and creamy
Food-grade N₂O dissolves readily and produces a dense, velvety head with a silky mouthfeel.
Infuse at 45 PSIInsert a 7.5g N₂O bulb, increase to 45 PSI and shake firmly for 20–30 seconds.
Serve now or wait 30 minutesImmediate use is possible. A cold 30-minute rest gives a better result.
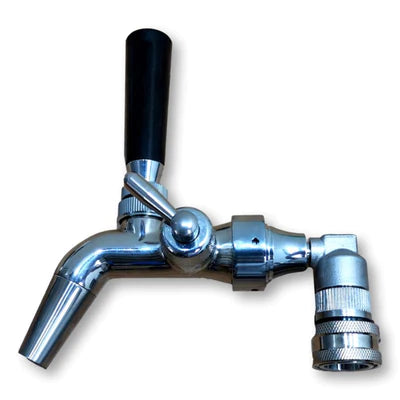
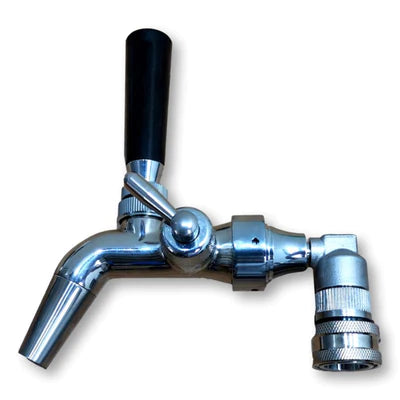
Serve at 20–25 PSIIf the drink shoots from the tap, reduce the pressure and press the tap more gently.
N₂O bulbs are supplied in limited quantities to existing customers who own an iKegger nitro coffee or cocktail keg package.
View N₂O cream chargersBest nitro result
Pure N₂ takes longer to integrate into the drink. The extra preparation produces a finer texture, a more stable head and the strongest cascade.
Infuse at 45 PSIInsert a 2g N₂ bulb, increase to 45 PSI and shake the gas firmly into the drink.
Give it timeKeep the keg cold under pressure for several hours. For the best result, prepare it the day before.
Serve at 20–25 PSIFit a second N₂ bulb if the first one was used during infusion and more gas is needed to pour.

The iKegger difference
Other mini-keg systems commonly use direct cartridge injection, fixed pressure or only a few preset levels. The iKegger 2.0 Multi-Gas Mini Regulator lets you set and adjust the pressure precisely for preparation, storage and serving.
Regulator essentials
These points apply whenever the regulator remains connected to your iKegger Mini Keg.
Yes. You can leave the regulator connected and turned on. It adds gas only when the pressure drops, which normally happens when you pour from the keg. Leaving it connected keeps the serving pressure stable. Disconnecting it does not normally save gas unless the system has a leak.
If a check valve is installed, the gauge shows the pressure between the regulator and the valve rather than necessarily showing the current pressure inside the keg. Pressure that rises inside a warming keg cannot flow back through the check valve to update the gauge.
Use a check valve when liquid could reach the regulator, especially when the keg is lying down. When setting pressure with a check valve installed, remember that the gauge may not reflect every pressure change inside the keg immediately.
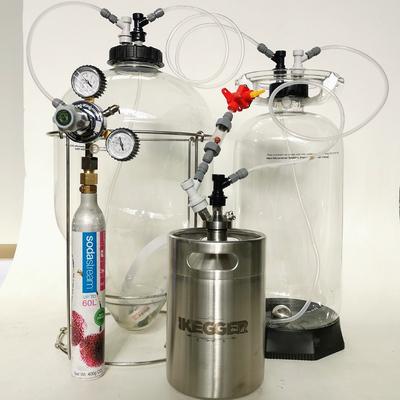
This page covers gas selection, drink preparation and serving. For carbonating a still drink, pressure fermentation and homebrewing, use the separate carbonation and pressure brewing guide.
