


Beer Brewing Manual
So you’ve bought yourself your shiny new iKegger keg but now what? Well you’ll want to fill it of course! But why fill it with something from a brewery when you could fill it with your very own delicious homebrewed beer!
Making your own beer at home and filling it into your brand new keg can sound like a daunting task, but with a few easy steps and a bit of patience you can be enjoying your very own beer in just a couple of weeks.
Getting Started:
First things first, you’re going to need some equipment, a recipe and some ingredients! If you’re starting with brewing, the simpler the recipe the better. Good beer doesn’t need to be complicated. There’s 1000s of recipes online you can use otherwise you can follow along with this one:
Simple Pale Ale:
Batch Size: 7.00 L
Boil Size: 9.00L
End of Boil Vol: 7.29 L
Final Bottling Vol: 6.00 L
- 1kg Pilsner Malt, crushed
- 0.7kg Pale Ale Malt, crushed
- 15g Citra pellets
- 15g Cascade pellets
- 1 pkt US-05 yeast
ABV: 5.5%
IBUs: 40
As for equipment, you can keep this simple as well, most things you might already have in your kitchen cupboards:
- A large pot, 10L - 12L with a lid
- A smaller pot, 5 - 7L
- Bucket for fermenting (with lid and hole for the airlock) or any of our PET pressure fermenter (Fermzilla All rounder or Keg King Junior ) see the whole fermentation gear section HERE
- Thermometer
- Something to stir with, a large spoon
- Fine mesh Sieve
- Airlock
- Optional: Large mesh bag (brew in a bag), bottling stick, hose
You can spend hundreds of dollars on fancy brewing equipment, but you don’t need to. You can make brilliant beer with the simplest of equipment.
Brewing:
Firstly you need to heat 4.5L of water to 72 degrees and “Mash In”. You’ll slowly add your crushed grain, stirring to avoid any large clumps (this is where brewing in a bag can come in handy, all the grain is contained within a bag which you’ll be able to remove easier later). Once all the grain is added and the clumps broken up, continue to stir for 5 minutes, place the lid back on and let it sit for 60 minutes. 
This recipe uses a combination rest, doing this means you just need to hold your mash temperature between 64 and 68 degrees for 60 minutes and it will do all the conversions necessary to make beer. If the temperature drops below this, turn the heat back on and stir to make sure the heat is evenly distributed, just be careful not to raise the temperature too high or burn your mash.
Once the 60 minutes has passed, slowly heat your mash up to 78 degrees and start “Mashing Out”, hold at this temperature for 10 minutes.. While you’re doing this, heat up 6.5L of water to use for sparging and the “Lautering” process.
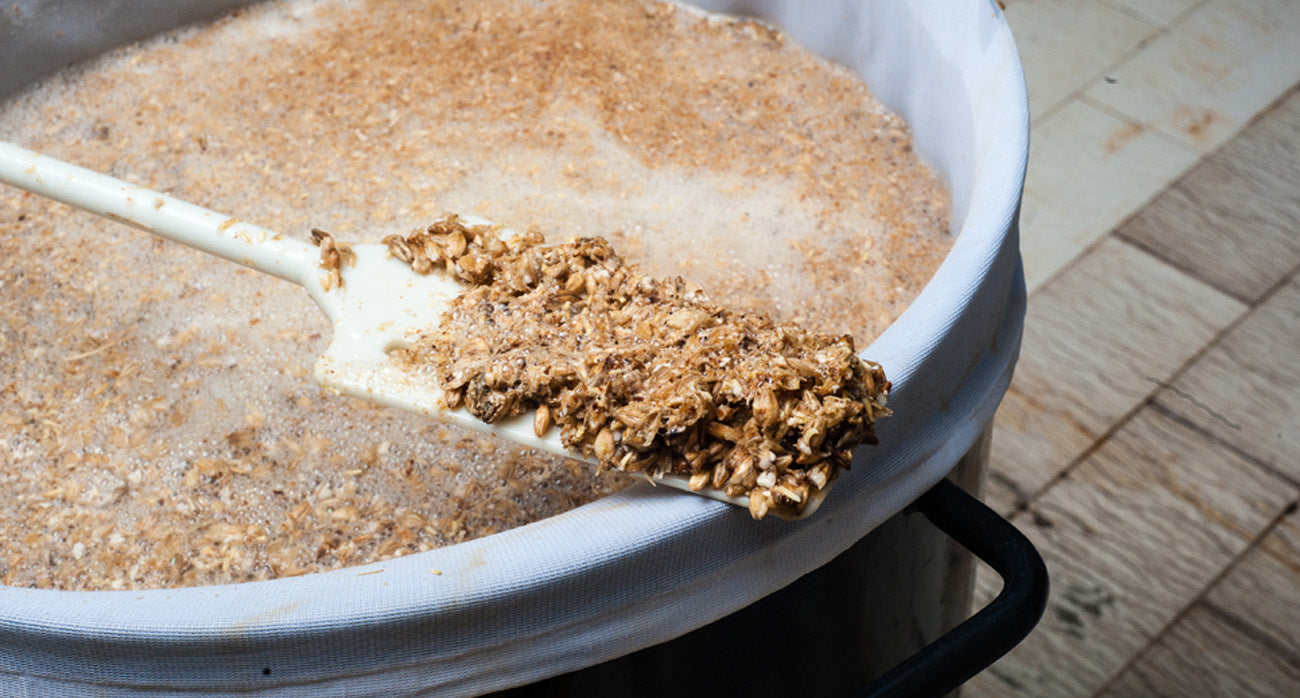
First we need to separate the hot liquid, known as wort, from the grain. This is where brewing in a bag can make life easier, you need to lift our grain out of our pot and place it into a sieve above your wort. No bag no worries, take another pot or your fermentation bucket, place the sieve on top to catch the grains and slowly pour your wort into it. Once the grain and wort are separated you can move your wort back over to your main pot and place the sieve with the grain over the top.

Very slowly and gently you’re going to add your sparge water over the top of the grain. You want to disturb the grain as little as possible, as doing it too hard or too fast can increase the chance of off-flavours and make your beer cloudy. Now that your grains are rinsed, you're finished with them. You can bake bread or other treats with them, compost them, or feed them to farm animals.
It’s now time to boil your wort. When it’s close to boiling, there is a chance of a boil over so keep a close eye on it at all times. If it looks like it will boil over, turn the heat down or off and stir gently until back under control. Once the wort is boiling you can turn the heat down for a slow continuous boil and start adding the hops.

The earlier the hops are added the more bitter the beer will be and the later they’re added the more flavour and aroma from the hops your beer will have. So a very hop forward beer will have large additions at the end of the boil or during secondary fermentation. Hops also have antibacterial properties which can help protect the beer, so adding them early also has benefits.
Hop Addition Timeline:
- 5g Citra, boil 60 minutes
- 5g Cascade, boil 10 minutes
- 10g Citra, flame out
- 10g Cascade, flame out
Before the yeast can be added you’re going to need to cool down your wort as quickly as possible. The best way to do this is by putting your pot into the kitchen sink (or bathtub) full of ice and cold water. While it’s cooling this is a great time to make sure your fermentation bucket is clean and sterilised. Once it’s cooled down to around 15 degrees, you can transfer it into your fermenter and pitch the yeast as per the packet instructions.
Fermentation can start within a few hours, but after 24 hours you should be seeing movement in your airlock, this means everything is working and the yeast is turning the sugar within the beer into alcohol. After 3 - 5 days once the bubbling from the airlock has subsided, fermentation will be finished and you can keg your beer!

Kegging:
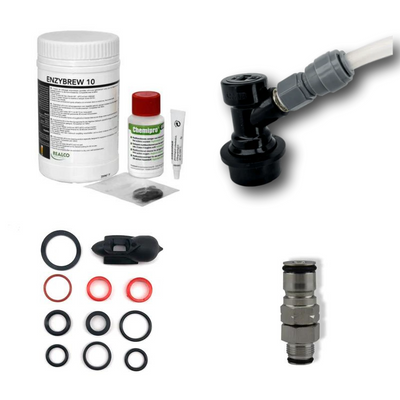
Now that fermentation is finished, it’s time to keg! In an ideal world you’d do a closed transfer using pressure, where no oxygen comes into contact with the beer,if you are using any of our Pressure fermenter you can simply use transfer line or if you are transferring already pressure fermented / carbonated beer into the keg you can use the transfer kit here which will allow you to transfer under pressure ( counter pressure ) and fill stopper included in this kit will stop the flow when the keg is full, but that’s not always possible. At the very least your keg should be clean and sanitized, chilling your keg beforehand can also help prevent foaming while filling.
Filling:
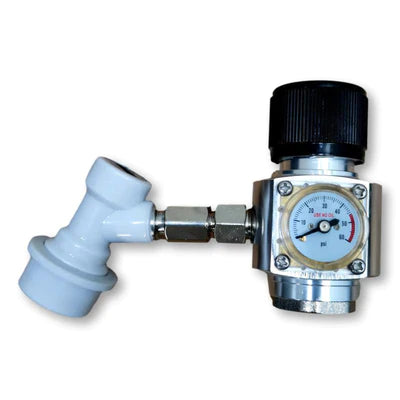
Flushing your keg with co2 before filling will remove any oxygen in the keg, which will help prevent spoiling.
- If your fermentation bucket has a tap, you can attach a hose to the tap and place it at the bottom of the keg, this way it wont splash and introduce oxygen into your beer.
- A bottling stick will work the same way. You’ll remove the lid from your fermentation bucket, and with a bit of pressure and gravity, the beer will flow through the hose and into the bottom of the keg.
- If you don’t have access to either of these, you can slowly and carefully pour your beer into your keg, tilting your keg and aiming for the wall will help prevent splashing.
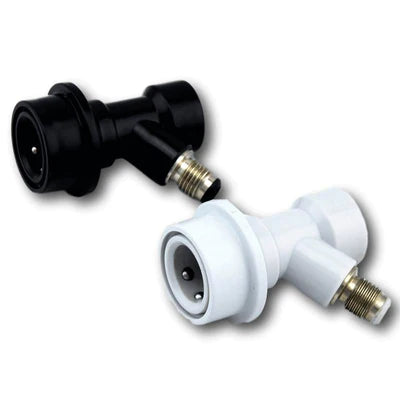
Once your keg is filled you can put the ball lock spear on and add more co2 to flush out any remaining oxygen.
Carbonating:
You’ve now got a keg full of tasty beer, but you’ll want to carbonate it before you serve it, as no one wants to drink flat beer! Luckily for you, we’ve already got a great page with all the information you would need for carbonating your beer: https://ikegger.eu/pages/how-to-force-carbonate-brew-under-pressure
For best results while carbonating the colder your beer the better! Warm beer takes longer to absorb the co2. If you’re really impatient you can also help speed up the process by shaking your keg. This increases the surface area of your beer, giving it a greater chance to absorb the co2.
Drinking:
I don’t think you need any help with this step. Enjoy your home brewed beer and start planning your next brew.
Cheers!
Jessie G
iKegger Europe