


How to Bottle Beer From a Keg Without a Counter-Pressure Bottle Filler
For many homebrewers, making the move from bottles to kegs is a game changer. The rigmarole of washing and filling endless bottles is a chore best left forgotten, while having beer on tap is a dream come true.
But, let’s not judge bottles too harshly. They do have their uses, and now and then it might be useful to have your homebrew available in a bottle. Competitions, parties and gifts are all occasions in which bottles may be required, but if you only have beer available in the keg, you might be stuck.
You could always buy a counter pressure bottle filler, though if you use it rarely, the extra cost might not be justified. Fortunately, you can learn how to bottle beer from a keg for less than €10, with simple parts you might already have lying around. Below, we’ll take a look at 2 methods.
Method 1: Super Easy
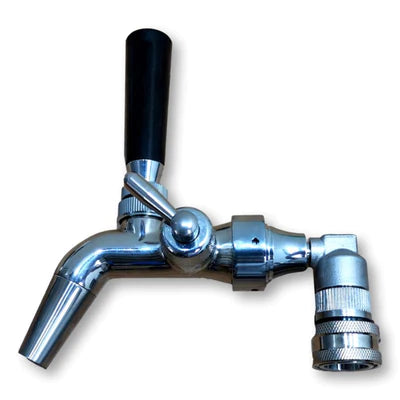
 The first method is super easy, and will show you how to bottle beer from a keg for almost no cost. It’s ideal for filling up a six-pack within minutes, ready to take to a party. The only additional equipment you’ll need is a picnic tap and a little extra beer line. To help things along and reduce foaming, be sure to stick your empty bottles in the freezer for 5 to 10 minutes before filling.
- Ensure everything is clean and sanitized.
- Fit the picnic tap to your normal run of beer line from the keg.
- Cut an additional piece of beer line so that it runs to the bottom of the bottle you want to fill.
- Attach this to the picnic tap; the line should fit tightly inside. Alternatively, most bottling wands will also fit onto the end of a picnic tap.
- Switch off the gas to your keg, and use the release valve to release all the co2 in the head space.
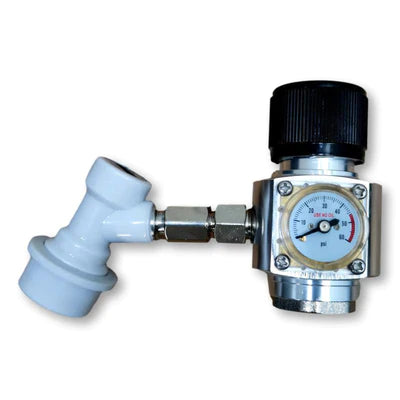
- Reduce your regulator to around 2 to 4 psi and switch on the gas.
- Open the picnic tap and release any foamy beer from the line, until it runs clear, then close the tap.
- Insert the line into a clean, sanitized bottle, and open the picnic tap again, the beer should start to fill from the bottle.
- If it’s not flowing, increase the pressure on the regulator until you get a smooth, but slow flow.
- Slowly remove the beer line as you near the top of the bottle, and turn the tap off when it’s full.
- If there’s a small amount of foam at the top, that’s great.
- Put the cap on the bottle, preferably over foam, and you’re done!
 By lowering the pressure of the gas going into the keg, you allow the beer to flow without foaming up in the bottle and losing carbonation. As the bottle is filled from the bottom up, the co2 in the beer should in theory push out the oxygen that is already in the bottle, and by capping on foam, you can be sure that you’re trapping only co2 inside the bottle with the beer.
There is a risk of oxidizing your beer if you’re not careful, so it might not be the best option for competition beers. But, for parties and short term storage, it’s a quick, easy and safe solution.
Method 2: Reduced Risk of Oxygen
 If you want to be sure you’re entering your best effort into a competition, but still don’t want to fork out for an expensive counter pressure bottle filler, this second method could be ideal for you. It involves a little DIY creativity, but once you’re set up, it’s just as quick and easy as the previous method. For this one, you’ll need a picnic tap, an old bottling wand or auto-siphon tube that fits onto the end of the picnic tap, and a soft, rubber bung that will fit snugly inside your bottle tops. You’ll need to drill a hole in the bung that allows the wand or siphon tube to fit through tightly. Finally, cut a 45 degree angle at the bottom of the tube.
- First, assemble your makeshift bottle filler. Fit the tube through the bung, and insert the uncut end into the picnic tap. Then, fit the picnic tap to your regular beer line and attach to the keg.
- As with the previous method, turn off the gas to the keg, and release the co2 in the keg head space.
- Set your regulator to around 2 to 4 psi.
- Open the picnic tap and release any foamy beer from the line, until it runs clear, then close.
- Insert the tube into your bottle and fit the bung so that it’s snug in the bottle opening.
- Open up the picnic tap and allow beer to flow into the bottle, filling from the bottom.
- Around halfway, the flow will stop. This is because the pressure in the bottle has become greater than the keg. To mitigate this, you need to release excess co2 from your bottle. To do so, simply press against the bung — which should be soft enough to dislodge slightly.
- Slowly release co2 from the bottle, and avoid filling your bottle too quickly. As the co2 escapes, it’s also pushing out the oxygen that was in the bottle before.
- Fill all the way to the top of your bottle, since when you remove the filler, the level will drop, providing ample head space.
- Remove the filler, and cap the bottle as normal, preferably on foam.
Your beer is now free from oxygen, sediment and ready to go. Using this method will typically allow you to store your beer longer than the previous method, making it a great choice for home brew competitions.
So, if you anticipate only bottling every now and then, why waste money on a counter pressure bottle filler? Surely that money can be better spent elsewhere now that you know how to bottle beer from a keg the quick, easy and affordable way. Enjoy!