Free & Fast Shipping Options In EU
Free & Fast Shipping Options In EU
About
Kegging Gear
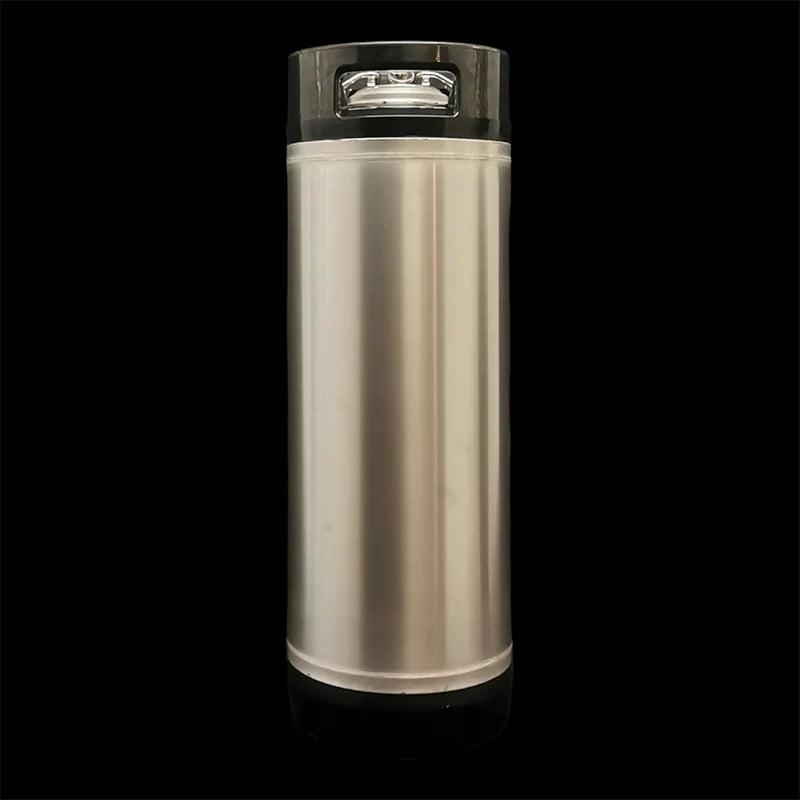
Using your 19L Keg as a Fermenter
July 17, 2024 3 min read
If you’ve been brewing for a while you already know all about fermentation and probably have a favourite when it comes to your fermentation vessel. Be it plastic all rounders, glass carboys, or even expensive stainless steel fermenters, the options are endless and there’s always something to suit your needs. But have you ever considered using a 19L keg as your fermenter?
Not only is it easy to convert your 19L keg with a few extra pieces, but it can also be more cost effective in the long run, as not only can you ferment in it, but you can serve directly from it too! And if there's one thing we’re not opposed to, its getting to drink that tasty beer quicker.
Equipment:
Besides the obvious 19L keg and a delicious wort waiting for fermentation the additional pieces you’ll want is a spunding valve and 19L float and dip tube. So let's take a look at the reasons why you’ll want to invest in them.
The Spunding Valve:
The spunding valve is great for a couple of reasons, but the main one in this scenario is that you’ll be able to ferment under pressure! You’ll be able to set the pressure (depending on temperature and style this will change but 12psi is a good place to start), and if it goes above this level, it will start to slowly release, meaning you never need to worry about dangerous levels of pressure building up. Even better, once fermentation is finished, you’ll have a beer that is already carbonated!
 19L Keg with Spunding Valve attached
19L Float and Dip Tube:
The dip tube in a standard 19L is a long stainless steel tube almost the same length as the keg itself, this means that you’re taking the beer from the bottom of the keg first. However the problem with this when using your keg for fermentation is that the bottom is full of yeast, so unless you’re wanting a mouthful of yeast you’re going to need a shorter dip tube.
Our 19L float and dip tube piece comes with a shorter dip tube, a long piece of silicone hose, float and filter. This means that the float and filter will sit on the top of the beer level, taking only the fresh tasty beer, and leaving the yeast cake at the bottom undisturbed.
 19L keg showing diptube and float attached to the liquid post
How it works:
Once you’ve finished brewing, go through all the normal steps you would when transferring into your fermenter, except this time, put it straight into your 19L keg! Pitch your yeast as usual, make sure you’ve switched the dip tubes, secure the lid, attach your spunding valve (set around 12PSI, and making sure the arrow on the blowtie is pointing away) and let the magic happen.
You can even still dry hop your beer while fermenting under pressure in your 19L keg. All you need is a small muslin bag (large enough to hold your hops) and two strong magnets. Place one magnet in the bag and before you seal the keg attach the other to the lid of the keg, making sure they still stick together through the lid. When it comes time to dry hop, remove the magnet on the top of the lid and the bag full of hops will fall into your beer.
Once the fermentation is finished, the recommendation is to always cold crash which will help settle the beer and clear it up nicely. But also cold liquids hold carbonation better, so if your beer isn’t as carbonated as you’d like it to be this will definitely help.
If the fridge you have doesn’t have the space for placing your 19L keg inside it, you can of course easily transfer your beer from your 19L keg into smaller kegs with the help of a daisy chain to link your two kegs together. Because there’s already pressure inside your 19L keg it’ll transfer over quickly, so it’s worth considering investing in a counter pressure auto filler or flow stopper, which will help make the process as easy as possible with as little wastage as possible.
 Filling an iKegger 2.0 keg system from a 19L keg with the auto filler attached
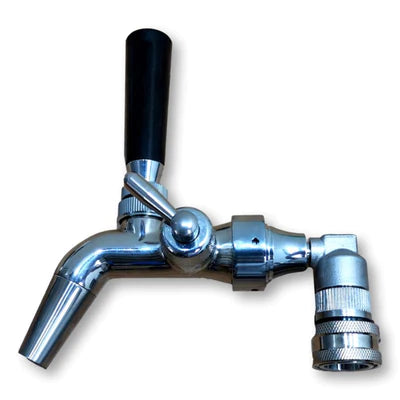
Now all that’s left to do is attach your tap and regulator and start enjoying, cheers!
Subscribe
Sign up to get the latest on sales, new releases and more …


