While we’re dreaming of warmer weather that’s just around the corner, why not start thinking about some delicious and refreshing beverages to enjoy once that sunshine hits. Seltzers have been growing in popularity around the world, becoming a multi billion dollar industry in just the US alone and slowly finding their way onto European shelves. But what is a seltzer and what makes something a hard seltzer? Keep reading below to find out what they are and how you can make it at home with the help of a iKegger 2.0 system!
What is a Seltzer?
Seltzer in its simplest form is very similar to sparkling water. It is made by carbonating plain water with carbon dioxide (co2), it then often has fruit flavours added to it to enhance its taste. Hard Seltzers are the same on a base level but with alcohol added! It creates a very light refreshing drink, perfect for picnics, gatherings and parties.
So why choose a seltzer over your go to beer or cocktail? Well due to the way hard seltzers are made they are often considered “healthier” than other alcoholic beverages like beer, cider and wine. They are lower in carbs and are often gluten free while still maintaining the same alcohol percentage as competing drinks, so what’s not to like (responsibly of course)!
If hard seltzers are considered a healthier option, how are they made?
How to Make Seltzer
First things first, we need some ingredients and some equipment! This recipe makes around 4L with a 5% alcohol content, but can easily be increased or decreased for a larger or smaller batch.
Ingredients:
4L of water
300g of sugar
Brewing/seltzer yeast like Mangrove Jacks Hard Seltzer Yeast
Fruit flavourings or extracts
Equipment:
A pot that holds at least 5L of water
Large spoon or something to stir with
A fermenter or a fermentation bucket with tap and airlock
Some notes about ingredients and equipment before getting started;
Any old drinking water will be fine! Although just like with brewing beer, you can change the taste by treating the water and changing the mineral contents.
You can use any fermentable sugar, be it corn, cane or even just normal white sugar that you buy at your local supermarket.
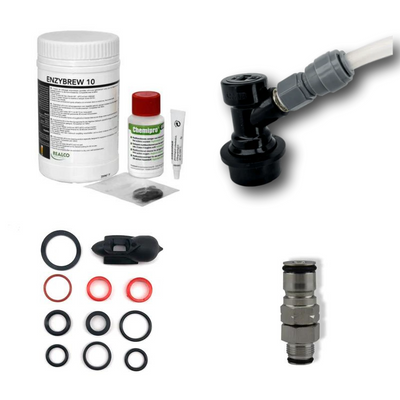
If you’re planning on using real fruit make sure it’s sterilised beforehand, either by boiling it into a puree or by freezing the whole pieces, this will kill off most bacteria that would cause spoilage and of course be ready to filter it out before kegging!
Also make sure you follow the instructions on the pack of the yeast you’re using, you likely won't need the whole pack when making such a small batch!
If you’re looking for a fermenter, especially if you’re wanting to make a larger amount, we have a30L Fermzilla option. Although it doesn’t come with an airlock, we also have a9L coffee bucket which comes with a handy tap preinstalled and it would be very easy for you to install an airlock onto the lid.
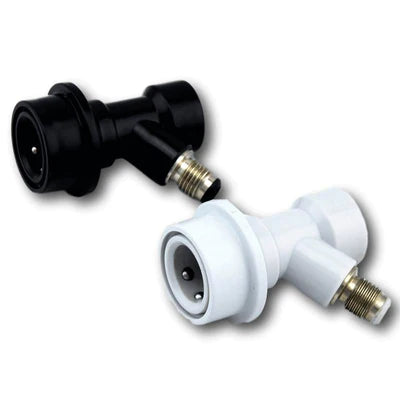
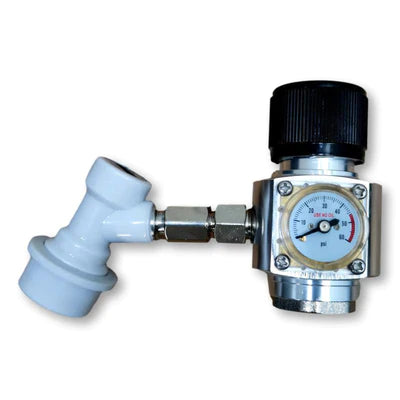
If you’re planning on carbonating your seltzer with a soda stream bottle or larger gas source remember that you’ll need an adapter and I also recommend using aremote gas line, it’ll make it easier to connect everything together.
So you’ve collected all your equipment and ingredients and now it’s time to make some seltzer!
Heat your 4L of water.
While the water is heating up, add your sugar and stir until fully dissolved.
Once the sugar has dissolved, bring the water to a boil for at least 10 minutes to make sure any bacteria has been removed.
Much like with beer you'll want to cool the sugar water down as quickly as possible to the temperature needed to pitch your yeast. This can be achieved with an ice bath or with a sink (or bath) of cold water.
While you’re cooling your sugar water, sanitise your fermenter and airlock (basically anything that will come into contact with the cooled liquid).
Carefully pour your sugar water into your fermenter. Add more cool (and sanitised) water to your fermentor to bring it back up to 4L if some has evaporated during the boiling process (this is known as the angels share in the brewing world!).
Once the sugar water has cooled to pitching temperature you can add your yeast! Make sure to follow the instructions on the package.
If you’re using real fruit or purees to add flavour to your seltzer consider also adding it now so that the flavour can impart during fermentation. If you’re using flavourings extracts you wont need to add them until fermentation is complete!
Seal your fermentor, add the airlock and let the yeast do its job!
Active fermentation usually starts around 24-48 hours after pitching your yeast, it can however start much earlier so don’t be worried if your airlock is bubbling away before then! It can also sometimes take a little longer to get going, so be patient! If nothing is happening you can carefully open your fermenter and add more sugar water and a little more yeast to kick it into gear.
Fermentation usually takes between one to two weeks to complete, you’ll know it’s finished when the airlock has completely stopped bubbling.
If you’re wanting a super clear seltzer you can leave it to “condition” and clear up for an extra week or two (you can move it into another fermenter or keg for this but it’s not necessary), but if you’re not worried about it being a little cloudy you can move on to the next step. If you’ve used real fruit you might want to consider moving your seltzer off it at this point as well, it's also worth noting that using real fruit wont give you a super clear seltzer.
Sanitise your keg and any equipment that you’re using to transfer your seltzer from the fermenter. If you’re using a pressure fermenter, ourauto filler kit is a handy way to transfer with zero oxygen contact. If you’re just using a fermentation bucket with a tap, you can usually connect a piece of hose to the tap and place that directly into your keg and let gravity transfer your seltzer (you can also go directly from the tap into the keg but you run the risk of introducing bacteria which could spoil all your hard work!).
Now that you’ve transferred your seltzer into your keg, now would be the perfect time to add your flavourings or extracts to taste!
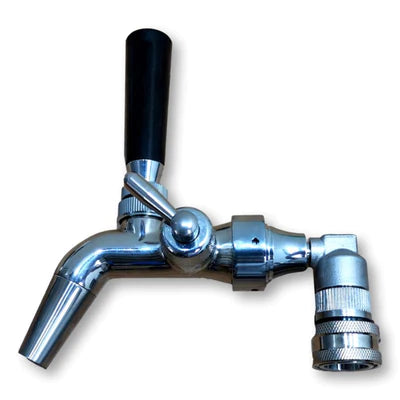
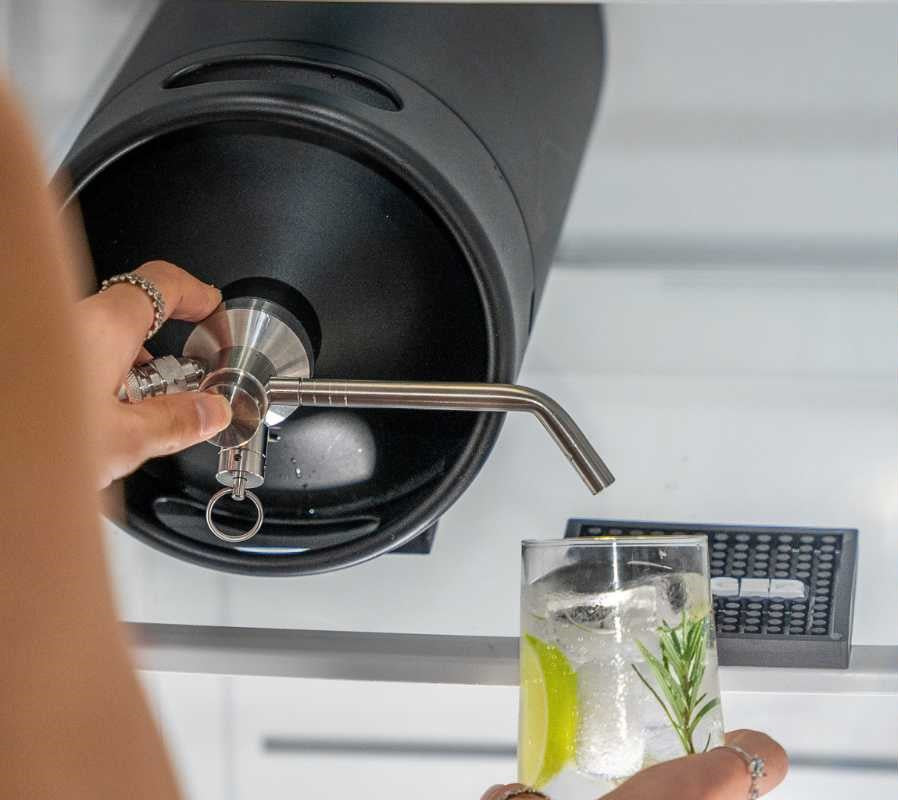
Once you’re happy with the taste it’s time to carbonate your seltzer with co2 to get it nice and fizzy! If you’re just using co2 bulbs you can directly screw them to the iKegger 2.0 regulator.You can also shake your keg to help the co2 dissolve into the seltzer as this increases the surface area that the co2 comes in contact with.
Now that you’ve followed these steps all you have left to do is pour your freshly made, delicious, light and fizzy seltzer into a glass and drink (or share with your friends)!
The joy of seltzer is that you can experiment very easily with different flavours or sugars. You can even split larger batches to have multiple flavours, it doesn’t even have to be fruit, you could use different herbs or spices or even flavour it with hops!
You can also easily make a non-alcoholic version by carbonating water (or sugar water if you still want the sweetness) with whatever flavourings you like.
Now here’s hoping the warmer weather comes soon so the picnics can start and the hard seltzer can be flowing. Enjoy!
Subscribe
Sign up to get the latest on sales, new releases and more …